

You want skilled hands, attention to detail, and someone who understands exactly what you need. You’ll discover how to choose the best tile contractor Seattle, what to expect from their services, and tips to ensure your project runs smoothly.
Keep reading to make sure your next tile project is a success you’ll be proud of.
Choosing The Right Tile
Tiles come in many types, each with unique features. Common materials include ceramic, porcelain, natural stone, and glass. Ceramic tiles are affordable and easy to clean but less durable. Porcelain is stronger and good for high-traffic areas. Natural stone looks beautifulbut needs more care. Glass tiles add shine and color but can be slippery.
Choosing the right tile depends on the room. Kitchens and bathrooms need water-resistanttiles like porcelain or ceramic. Living rooms can use natural stone for a warm, elegant look. Outdoor spaces need tiles that resist weather and slipping. Matching tile style with room use helps keep spaces both safe and stylish.
Preparing The Surface
Cleaning the surfaceis the first step before tiling. Remove dust, dirt, and grease. A clean base helps tiles stick better.
Levelingis important. Uneven floors cause tiles to crack or pop up. Use a leveling compound to fix bumps and holes.
Check for moisture issues. Wet surfaces can damage tiles over time. Use a moisture barrier or waterproof membrane to protect the floor.
The subfloormust be strong and stable. Wood or concrete floors work well if they are solid and dry. Weak subfloors can cause tile problems later.
Tools And Materials Needed
Essential toolsinclude a tile cutter, notched trowel, and rubber mallet. A level and spacers help keep tiles even and aligned. A tape measure is needed for accurate cuts and layout.
Adhesivesmust match the tile type and surface. Thin-set mortar works well for most tiles. Grout fills gaps between tiles and comes in sanded or unsanded forms. Choose grout color to match or contrast tiles.
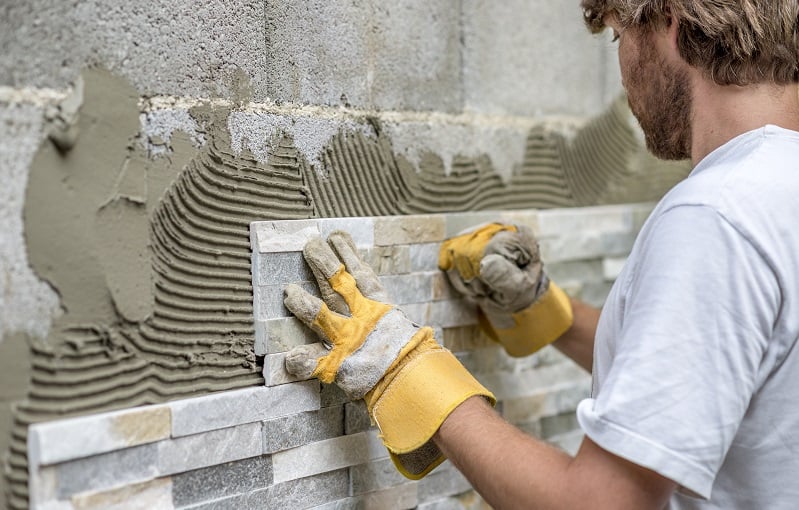
Safety equipmentis very important. Wear gloves to protect hands from sharp edges and chemicals. Safety goggles shield eyes from dust and tile chips. A dust mask helps avoid inhaling fine particles.
Installation Techniques
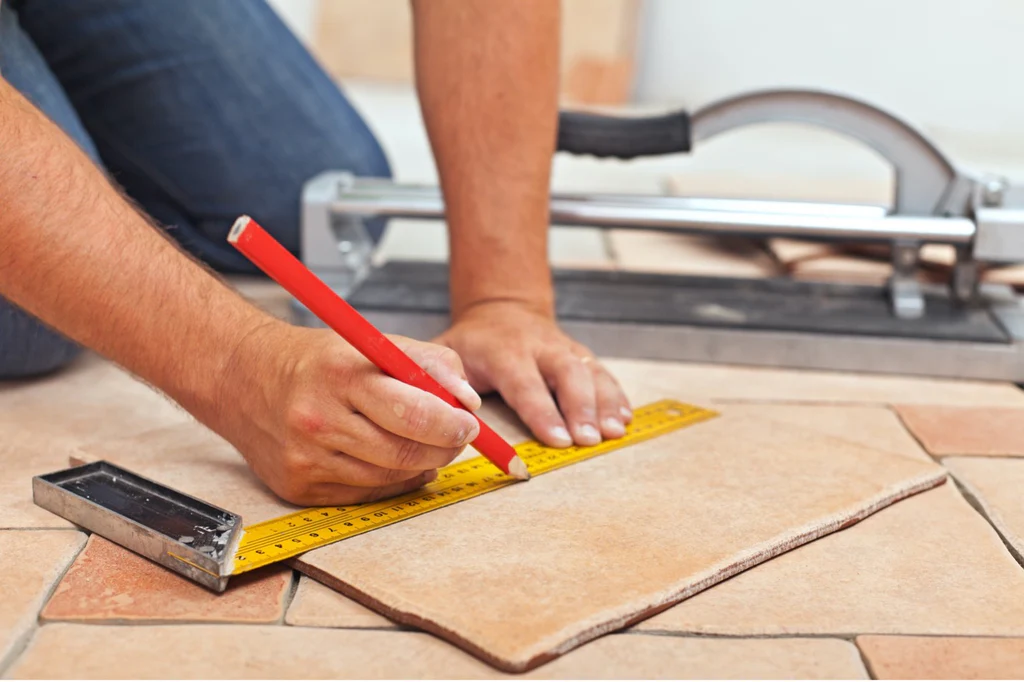
Measuring and layout planningis the first step in tile installation. Accurate measurements ensure tiles fit perfectly. Use a tape measure and mark guidelines with a pencil. Plan the layout to avoid small tile cuts at edges. This helps create a neat and balanced look.
Cutting tiles accuratelyrequires the right tools. A tile cutter or wet saw works best for straight cuts. Score the tile gently, then snap it cleanly. For curved or odd shapes, use tile nippers carefully. Always wear safety glasses to protect your eyes.
Applying adhesive and setting tilesneeds steady hands. Spread the adhesive evenly with a notched trowel. Press tiles firmly into place, following the layout lines. Use spacers between tiles for consistent gaps. Clean off any excess adhesive before it dries.
Grouting And Sealing
Selecting the right groutdepends on the tile type and location. Use sanded groutfor wide gaps over 1/8 inch. Unsanded groutfits narrow gaps under 1/8 inch. Choose grout color to match or contrast tiles. Lighter grout shows dirt faster, while darker grout hides stains well.
For clean lines, apply grout with a rubber float. Press grout firmly into gaps at a 45-degree angle. Remove excess grout quickly before it dries. Use a damp sponge to smooth grout lines gently. Keep sponge clean to avoid smearing grout on tiles.
Sealinggrout protects against water and stains. Wait 48-72 hours after grouting to seal. Apply sealer evenly with a brush or cloth. Let sealer dry fully before using the tiled area. Reseal grout every year for durability and easy cleaning.
Maintaining Tile Floors
Regular cleaningkeeps tile floors bright and safe. Use a soft broom or vacuum to remove dust and dirt daily. Mop floors with warm water and mild soap to avoid damage. Avoid harsh cleaners that can dull tiles.
Stainshappen. Act quickly by blotting spills with a clean cloth. For tough stains, use a paste of baking soda and water. Gently scrub with a soft brush. Replace cracked or chipped tiles soon to stop bigger problems.
Preventive carehelps tiles last longer. Use mats at doors to catch dirt. Place felt pads under furniture to stop scratches. Avoid dropping heavy items on tile floors. Regular checks find small issues before they grow.
Hiring A Tile Contractor
Reliable experiencematters. Choose a contractor with proven skills and good reviews. Check if they use quality materials and follow safety rules. Clear communication is key. They should answer questions well and explain the process simply.
Ask about their past projects. Request photos or references. Inquire about the tools and techniques they use. Confirm they have proper insurance to avoid risks. Clarify if they handle cleanup after work.
Conclusion
Choosing the right tile contractor in Seattle makes a big difference. Skilled professionals ensure your tiles look perfect and last long. Quality work adds value to your home or business. Trustworthy contractors listen to your needs and deliver on time.
Good communication helps avoid mistakes and delays. Investing in expert tile installation saves money over time. Your space will feel fresh and clean with new tiles. A reliable tile contractor turns your vision into reality. Don’t settle for less when it comes to tile work.