Introduction
Content creators are producing more visual content than ever before, and standing out in a crowded feed often comes down to the quality and creativity of your imagery. Merging multiple photos into a single, cohesive collage is one of the most effective ways to tell a layered story, showcase a product lineup, or give your audience a behind-the-scenes look at your process. The right collage maker tool can be the difference between a scroll-stopper and something that gets skipped entirely. In this guide, we break down the best tools and techniques for creating polished, professional collages that actually convert attention into engagement.
Why Collages Work So Well for Content Creators
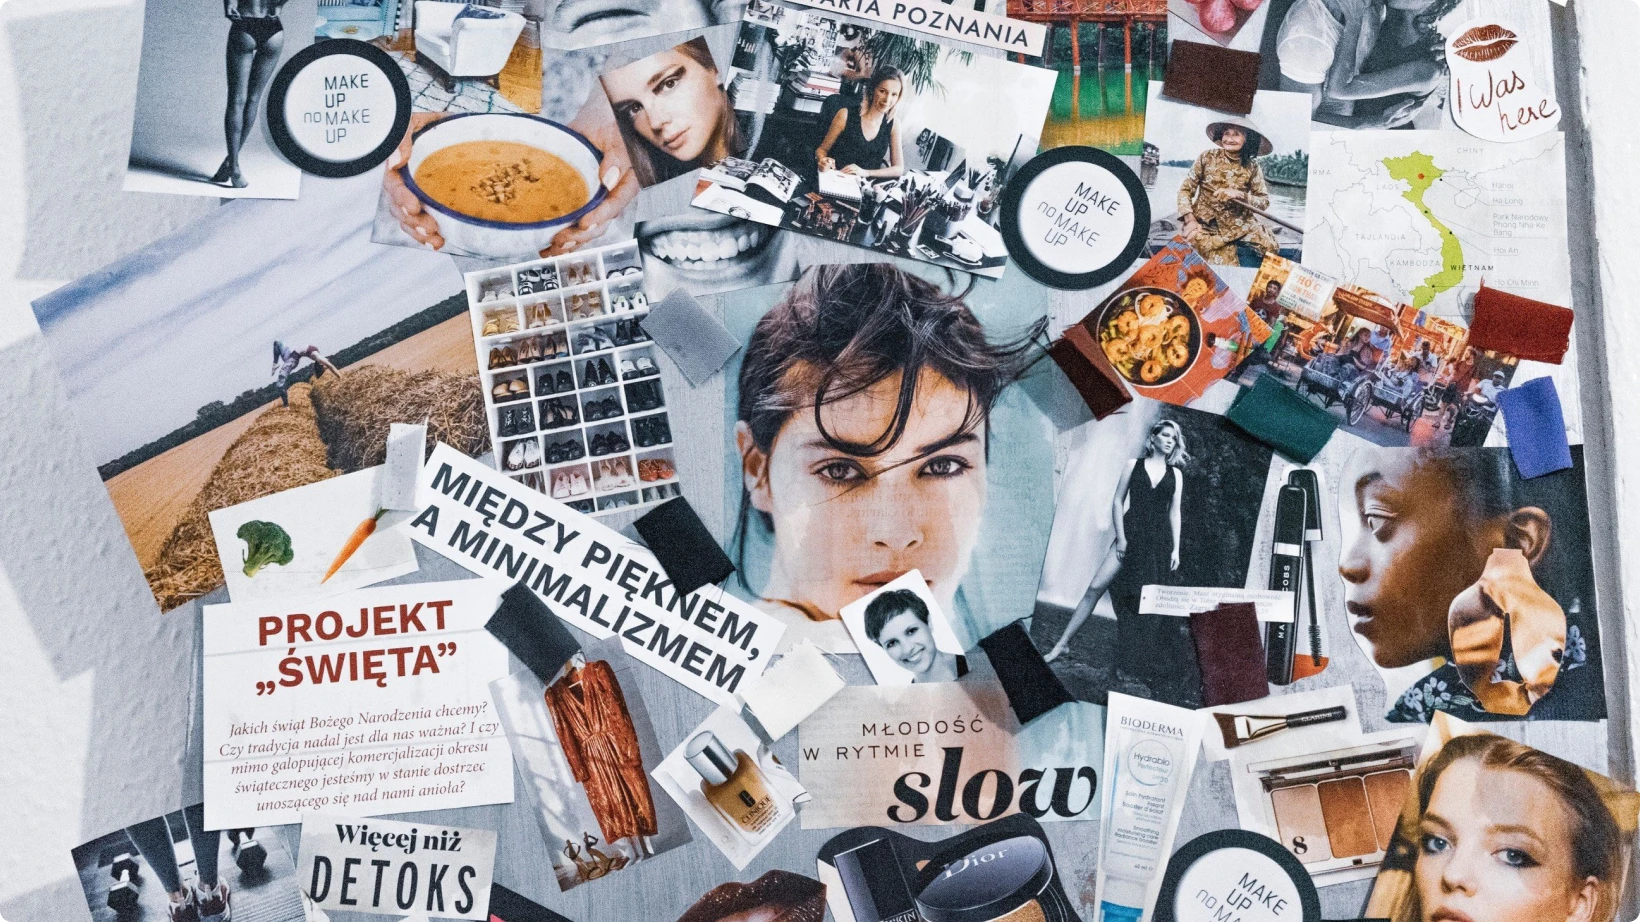
Before diving into tools and tips, it helps to understand why the collage format performs so well across platforms. Collages allow you to pack multiple pieces of visual information into a single post, which is particularly valuable on platforms that reward high-engagement content. Rather than posting three separate images and splitting your reach, a well-designed collage consolidates your message and makes your grid or feed look intentional and curated.
Collages also give creators a natural opportunity to show contrast and transformation. Before-and-after comparisons, product bundles, multi-step tutorials, and travel recaps all benefit from the side-by-side format. When viewers can see multiple images working together to tell a single story, the content feels more complete and satisfying, which tends to drive saves, shares, and comments.
There is also a psychological dimension to the collage format. Multiple images arranged thoughtfully communicate effort and intention. Even a simple grid layout signals to your audience that you care about presentation, and that brand perception carries real weight when you are building a loyal following or working with brand partners.
What to Look for in a Collage Maker Tool
Not all collage tools are built the same, and choosing the wrong one can lead to frustrating limitations mid-project. As you evaluate your options, here are the most important features to prioritize:
- Template variety: A good tool should offer a wide range of layout templates so you are not locked into the same grid every time.
- Customization depth: Look for tools that let you adjust spacing, borders, background color, and image positioning without needing to use a separate editing app.
- Resolution output: If you are creating content for print, large displays, or high-resolution screens, check that the tool exports at sufficient quality.
- Brand asset support: The ability to upload your own fonts, logos, and color palettes is essential for maintaining brand consistency.
- Mobile and desktop access: Many creators work across devices, so cross-platform compatibility can save significant time.
- Integration with existing workflows: Tools that connect with cloud storage, social scheduling platforms, or other editing apps make the process smoother from start to finish.
Understanding what your specific workflow requires will help you narrow down your options quickly. A solo lifestyle blogger has different needs than a social media manager running accounts for multiple brand clients, and the best tool is usually the one that fits neatly into how you already work.
Tips for Creating Collages That Actually Look Great
1. Start With a Clear Visual Hierarchy
One of the most common mistakes in collage design is treating every image as equally important. In reality, your eye needs somewhere to land first. Choose one hero image that anchors the composition and use the surrounding images to support or contextualize it. This creates a visual hierarchy that makes the collage feel intentional rather than chaotic.
To establish hierarchy, consider making your primary image larger than the others, positioning it in the center or upper left (where the eye naturally goes first), or giving it more visual contrast through color or lighting. The supporting images should complement the hero rather than compete with it.
2. Use Adobe Express to Combine Images Quickly and Professionally
For creators who want a streamlined, professional result without a steep learning curve, Adobe Express is one of the strongest options available. The platform makes it easy to combine images into polished collages using a variety of pre-built layouts that can be fully customized. You can adjust borders, swap background colors, reposition photos within their frames, and add text overlays all within a single workspace.
What sets Adobe Express apart for content creators is its integration with Adobe’s broader ecosystem. If you are already working with Lightroom or Photoshop for photo editing, your assets are accessible and ready to use. The tool also supports brand kits, which means your fonts, logos, and brand colors can be applied consistently across every collage you create. For creators managing multiple clients or brand personas, this kind of consistency at scale is invaluable.
3. Stick to a Consistent Color Palette
Nothing disrupts a collage faster than images that clash tonally. Even if your individual photos are beautiful, placing a warm-toned outdoor shot next to a cool-toned indoor shot without any adjustment can make the whole composition feel disjointed. Before you start arranging your layout, take a moment to assess the tonal range of your selected images.
A quick way to create cohesion is to apply a matching preset or filter to all images before importing them into your collage tool. Alternatively, many advanced tools allow you to make basic color adjustments within the collage editor itself, so you can nudge the warmth, saturation, or brightness of individual images until they play nicely together.
4. Mind Your Spacing and Padding
The spacing between images, often called gutters or padding, has a significant impact on how professional a collage looks. Too much space and the images feel disconnected; too little and the composition feels cramped and overwhelming. Most creators find that a consistent, moderate gutter (roughly 5 to 10 pixels for digital, scaled proportionally for larger outputs) strikes the right balance.
White or neutral-colored gutters tend to feel clean and modern, while bold-colored borders can add energy and personality. The key is consistency: whatever you choose, apply it uniformly across all the dividers in your collage so the layout reads as intentional.
5. Choose Layouts That Match Your Platform
A square collage that looks stunning on Instagram may feel awkward when repurposed for a Pinterest board or a blog header. Before you start designing, know exactly where the collage will live and design for those dimensions from the beginning. Most quality collage tools let you set custom canvas sizes or choose from platform-specific presets, which eliminates a lot of the crop-and-resize friction that happens after the fact.
For creators who regularly publish across multiple platforms, consider designing the collage at the largest intended size and then creating cropped or rearranged versions for smaller formats. This approach saves time and ensures you are always working from the highest-quality source.
6. Use Odd Numbers of Images for Natural Composition
Design principles borrowed from photography and fine art apply just as much to collage layouts. One of the most useful is the rule of odds, which suggests that compositions with an odd number of elements feel more natural and dynamic than those with even numbers. A three-image layout or a five-image grid often feels more visually interesting than a two-image or four-image split.
This does not mean even-numbered layouts are wrong. Symmetry and balance can be powerful tools, particularly in minimalist or editorial-style content. But if you find a layout feeling flat or uninspired, try experimenting with an arrangement that uses three or five images and see if the composition gains energy.
7. Layer Text Intentionally
Adding a text element to your collage is an opportunity to reinforce your message, credit your sources, or add a call to action, but it can also clutter the composition if handled carelessly. The best approach is to use text sparingly and to place it over areas of your images that have relatively low visual complexity, such as a clear sky, a plain wall, or a blurred background.
Font choice matters here as much as placement. A font that reads clearly at small sizes on mobile is essential, since a large portion of your audience will be viewing the content on a phone screen. Stick to one or two fonts maximum, and make sure they align with your existing brand identity.
8. Experiment With Non-Grid Layouts
Rectangular grids are the default in most collage tools, but they are far from the only option. Freeform layouts, overlapping images, circular crop shapes, and diagonal arrangements can all make your collages stand out from the predictable grid aesthetic that dominates most feeds. These creative layouts work especially well for storytelling collages, editorial-style content, or any situation where you want the collage to feel more like a designed piece than a simple photo arrangement.
The key to pulling off a non-traditional layout is ensuring that there is still a sense of visual order. Overlapping images should overlap purposefully, with the most important subject on top. Irregular shapes should be balanced by consistent spacing or a cohesive color story.
9. Batch Create for Efficiency
If you publish collages regularly, setting up a repeatable system will save you significant time. This means creating a master template with your preferred layout, brand colors, and font choices saved, and then simply swapping in new images each time you sit down to create. Most tools that support brand kits or saved templates make this process very quick.
You can also batch your photo selection and editing in advance, so by the time you open your collage tool, all the images are already cropped, color-corrected, and ready to drop in. Building this kind of production pipeline is what separates creators who feel constantly behind from those who maintain a steady, sustainable publishing cadence.
10. Review on the Actual Device Your Audience Uses
Before publishing any collage, view it on a mobile screen. This sounds obvious, but it is a step that many creators skip when they are working on a desktop monitor. Text that looks readable on a large screen can become illegible on a phone, and fine details that you spent time perfecting may disappear entirely at smaller sizes.
If your content strategy includes stories or reels thumbnails, check the collage at those specific dimensions as well. What reads beautifully as a square post may have important elements cropped out in a vertical format.
Comparing Free vs. Paid Collage Tools
Free collage tools can be genuinely useful, particularly for creators who are just starting out or who only need basic layouts on occasion. Many free options offer a solid selection of templates and allow exports at reasonable resolutions. The tradeoff is usually in customization, with limitations on font uploads, color control, or output quality.
Paid plans, on the other hand, typically unlock brand kit functionality, higher resolution exports, batch processing, premium templates, and priority customer support. For full-time content creators or anyone managing social media professionally, the investment in a paid tool almost always pays for itself in time saved and quality gained.
A practical approach is to start with a free tier to evaluate the user interface and template selection, then upgrade once you have confirmed that the tool fits your workflow and you are using it frequently enough to justify the cost.
FAQ
What is the easiest way to merge multiple photos into a collage without design experience?
The easiest approach for beginners is to use a browser-based tool that offers drag-and-drop functionality and pre-built templates. These tools handle the layout logic for you, so all you need to do is select a template, upload your photos, and make minor adjustments to spacing and colors. Adobe Express is a strong choice for this because its interface is designed for users at all skill levels, and the results look polished without requiring any prior design knowledge. Starting with a template that closely matches your desired output cuts down on decision fatigue and helps you produce something publication-ready in minutes rather than hours.
How do I make sure my collage looks good across different social platforms?
The key is to design for your primary platform first and then adapt from there. Each platform has preferred dimensions, so knowing whether your collage is destined for an Instagram square post, a Pinterest pin, a LinkedIn header, or a blog thumbnail changes how you approach the layout from the start. Many collage tools allow you to set custom canvas dimensions or choose from preset social media sizes, which removes the guesswork. Once your primary version is complete, use the tool’s resize or duplicate feature to create platform-specific variants. For tracking how your different collage formats perform across platforms, a social analytics tool like Sprout Social can help you identify which dimensions and layouts drive the most engagement over time.
Can I use collage makers for video thumbnails?
Yes, and this is actually one of the most effective use cases for collage tools in content creation. A strong video thumbnail often combines a close-up of a face or subject with supporting imagery and bold text, which is essentially the formula for a high-converting collage. When designing for thumbnails, pay special attention to contrast and text legibility, since thumbnails are often viewed at very small sizes before a viewer decides to click. Bright, high-contrast images with minimal text tend to perform better than complex compositions that lose detail at thumbnail scale. Make sure to export at the platform’s recommended dimensions, which for YouTube is currently 1280 by 720 pixels.
What file format should I export my collage in?
For digital use on social media or websites, JPEG and PNG are the most commonly supported formats. JPEG files are smaller in size, which makes them faster to upload, but they use lossy compression that can introduce visible artifacts if you export at low quality settings. PNG files are larger but use lossless compression, which preserves crispness and is particularly important if your collage includes text or sharp graphic elements. If you are exporting a collage that includes transparency, such as a logo overlay or a cutout shape, PNG is the only option since JPEG does not support transparent backgrounds. For print applications, check whether your printing service requires TIFF or PDF formats and export accordingly.
How many images is too many for a single collage?
There is no universal rule, but a practical ceiling for most social media collages is between six and nine images. Beyond that point, individual photos become too small to read clearly on a mobile screen, and the composition starts to feel cluttered rather than curated. If you have more images to showcase than a standard collage layout can comfortably handle, consider breaking your content into a carousel post, a multi-slide story, or a series of smaller collages organized around a theme. The goal is always for the viewer to be able to absorb and appreciate each image without feeling overwhelmed. Quality of presentation should take priority over quantity of images included.
Conclusion
Creating great collages is one of the most accessible ways for content creators to elevate the visual quality of their work without needing advanced design skills or expensive software. By choosing the right tool for your workflow, following basic composition principles, and building a repeatable production process, you can consistently produce imagery that captures attention and reinforces your brand identity.
Whether you are combining product photos for a brand campaign, recapping an event, or building a tutorial grid for your audience, the fundamentals covered in this guide will help you approach each project with confidence. Start with one or two tools, practice with the templates until you feel comfortable, and then push yourself toward more custom layouts as your eye for design develops. The investment in your visual content pays dividends in engagement, credibility, and creative satisfaction.